Gilding gives a beautiful look to anything. It takes the ordinary and turns it into something stunning. I chose to gild a mirror which I’ve had for a long time and always intended to dress it in silver.
All you need is the following:
- Silver/gold leaf
- Silver/gold leaf size or adhesive – you can find this in most craft shops
- Acrylic paint – red, black or blue
- Masking tape
- Brushes for applying the size, the leaf and the varnish
- Acrylic varnish
- Cotton buds & warm water to clean your piece for gilding
- Something to gild

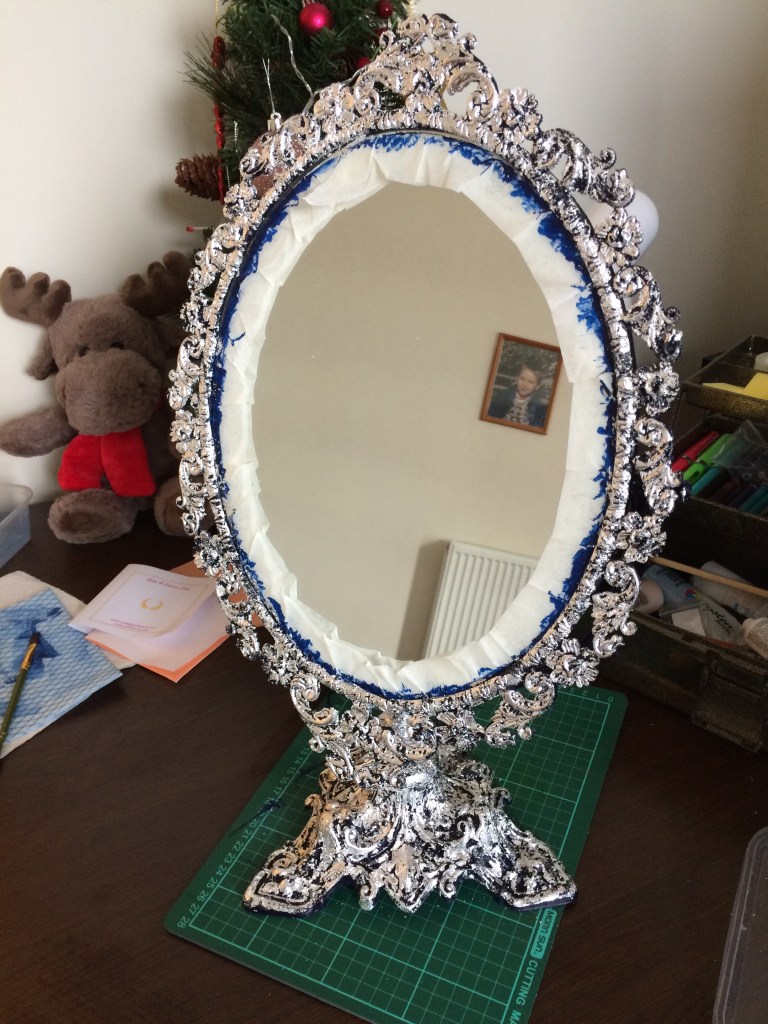
This is the mirror I chose to gild.
Firstly, clean the piece. I used cotton buds and warm water to get into all of the tiny crevices.
Next, layout your work area. Chose somewhere that’s comfortable and won’t be needed for at lest a week. This can take some time, depending on the piece you’ve chosen.

Use the masking tape to line the mirror, or any places you don’t intend to gild. You can clean it once you’re finished, but you might risk ruining the piece.

Paint the surface with acrylic paint. If you’re using gold leaf, the ideal colour is red. For silver leaf you can either use blue or black. I used Prussian blue and I bought a good quality paint that would give the surface a good coverage. I gave my mirror two coats.

Leave the piece to dry for at least 24 hours. This will give you a nice dry surface for your silver/gold leaf.
Applying the size is simple. The one I bought was in a tube and came premixed so there was no mucking about with measurements. All I did was use a small paint brush so the intricate decorative areas would be covered. There are several ways to apply the leaf. The product I used came in a small booklet and each individual leaf had a tear out sheet so to help lift the leaf from the book and maneuver it into place. I’ve seen people use there fingers or bamboo tweezers and there are those who will run a paintbrush through their hair to create static so the leaf will follow the brush to the desired area. I put mine in place with the paper in the booklet. Once you have the silver/gold leaf where you want it, just use a dry brush to push it about and make sure the area is covered. If your worried about it looking too uniform, don’t be. When you buy genuine gold/silver leaf, it’s delicate and breaks apart very easily.

As you can see from the photo above, the silver leaf adheres to the size and as the mirror has a lot of detail, it leaves uncovered areas showing the blue paint.
When you finish your piece, use a dry brush to go over it and remove any tiny pieces of the leaf that are clinging on. Make sure you take your time with this, especially if the piece you have chosen is complex and has fancy areas. Once you’re satisfied that your piece is ready for varnishing, give it two coats. I left mine for 24 hours in between each coat. Varnishing protects the leaf and if your gold/silver leaf isn’t the genuine article, it stops it from tarnishing.

Once the piece is completely dry, remove the tape and, viola!

The finished product!
